


If you’ve just brought home a Keurig or you’re thinking of getting one, you’re about to make your mornings much easier. These machines are known for brewing consistent, flavorful coffee in under a minute—no filters, no mess, just simplicity.
In this guide, I’ll walk you through every step on how to use a Keurig coffee maker, including setup, brewing, cleanup, and maintenance. You’ll also find a quick comparison table and FAQs to make your experience even smoother.
Why Choose a Keurig Coffee Maker
A Keurig is perfect for anyone who loves convenience without compromising taste. It uses small, pre-measured pods (called K-Cups) that contain the exact amount of coffee grounds for one serving. When you close the lid and press “brew,” the machine punctures the pod and runs hot water through it, giving you a fresh cup of coffee in seconds.
It’s ideal for busy mornings, quick breaks, or even for brewing tea, cocoa, and specialty drinks. No more grinding beans or cleaning messy filters—just pop, press, and sip.
Getting Ready: Setup and Preparation
Before you brew your first cup, let’s make sure your Keurig is ready to go.
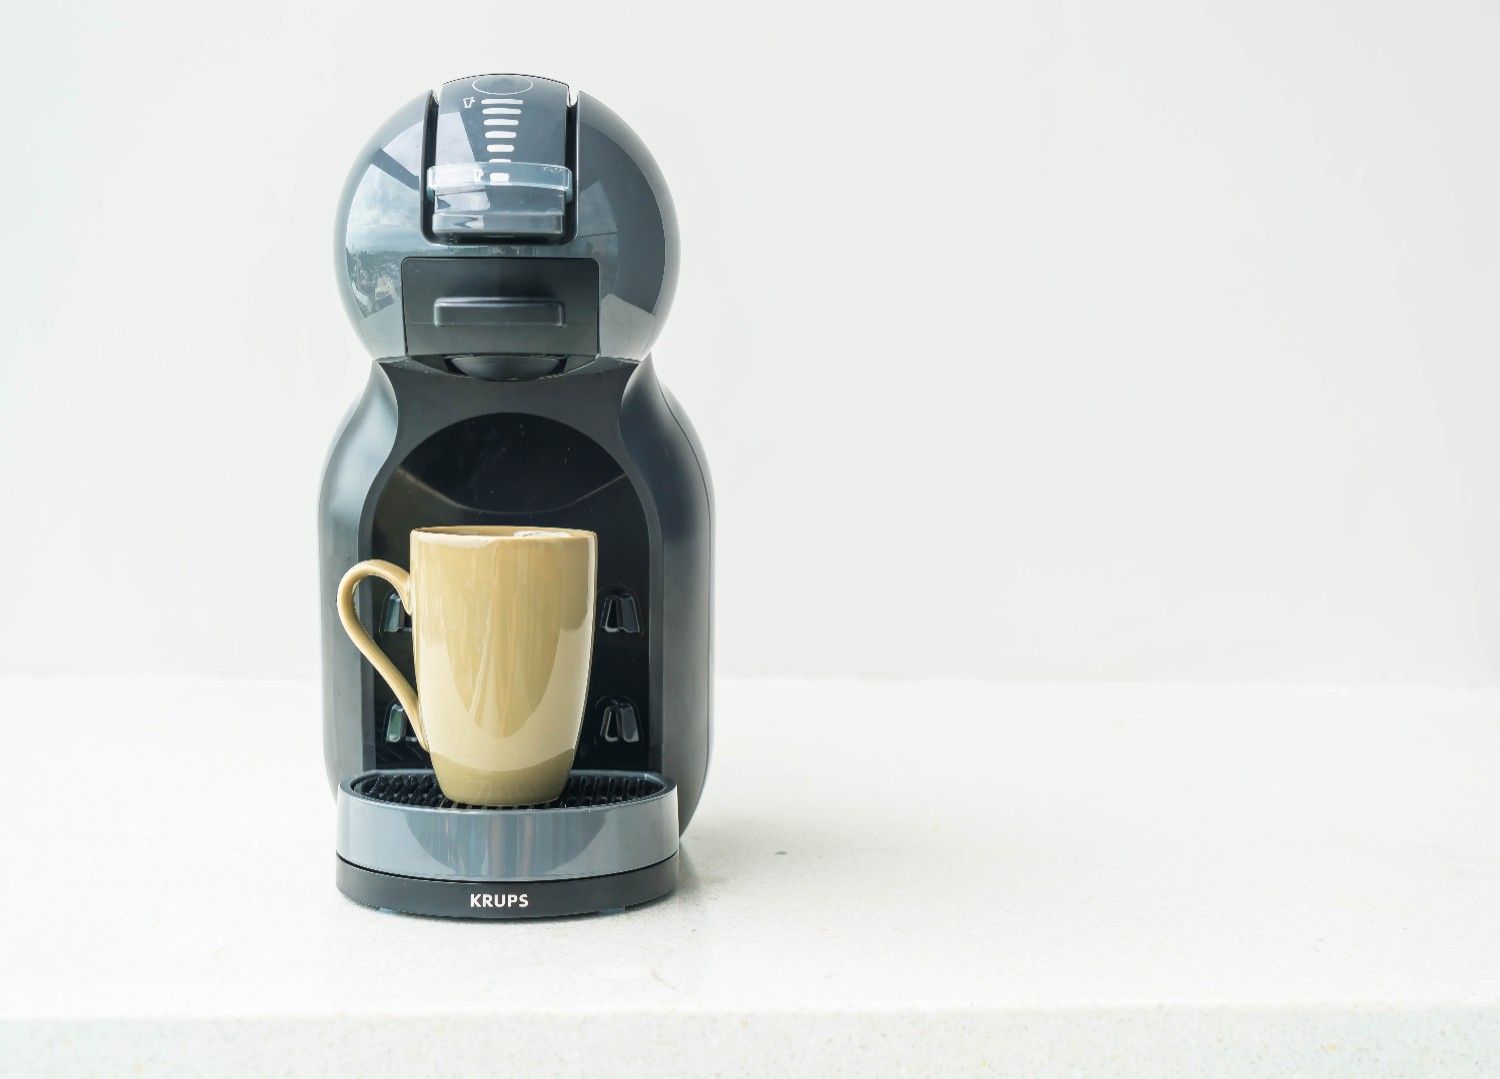
Step 1: Place Your Mug and Check Space
Start by placing your mug on the drip tray. If your mug is tall (like a travel mug), you may need to remove the drip tray for it to fit properly. Make sure the machine is sitting on a stable countertop and is plugged in securely.
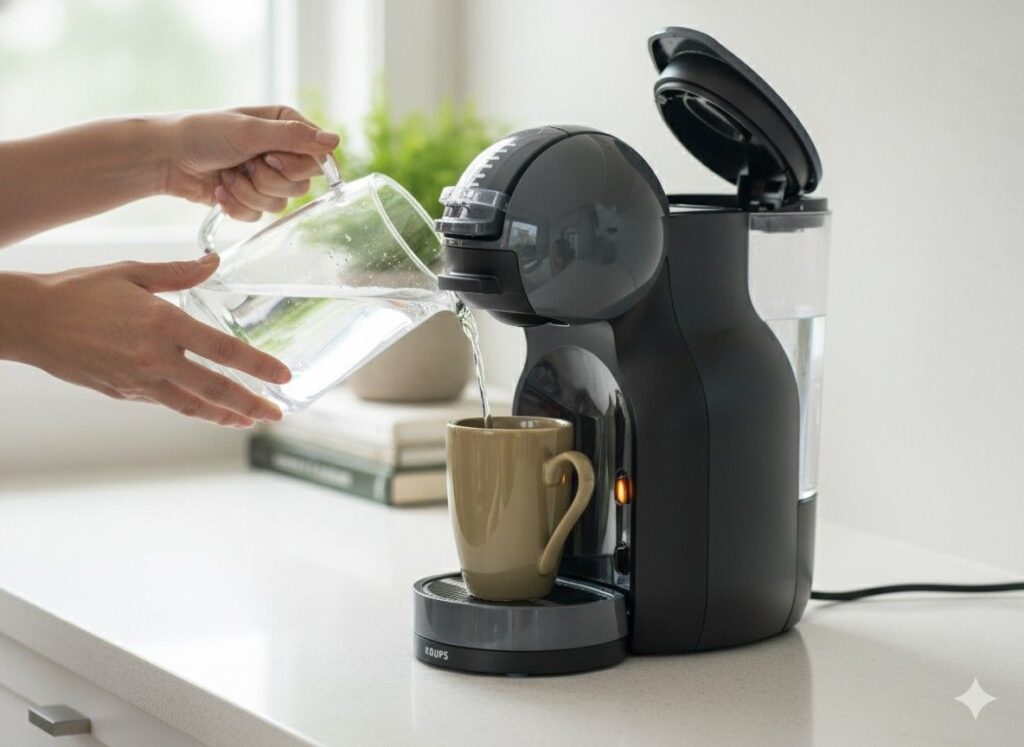
Step 2: Fill the Water Reservoir
Lift the lid of the water reservoir and fill it with fresh, clean water up to the “MAX” line.
If your model has a removable reservoir, it’s easier to take it to the sink for filling. Using filtered water can also improve flavor and reduce mineral buildup.
Step 3: Power On and Warm Up
Press the power button. Most Keurig models will automatically start heating the water and signal when they’re ready to brew. Give it a minute or two to fully warm up for the best results.
How to Brew Coffee in a Keurig
Now comes the fun part—brewing your coffee.
Step 1: Insert the K-Cup Pod
Lift the handle to open the brew chamber. Place your K-Cup pod inside the holder without removing the foil lid. Close the handle firmly until you hear a “pop.” That sound means the needles have punctured the pod and it’s ready to brew.
Pro Tip: Never open the chamber while the machine is brewing—hot water and steam can escape, causing burns.
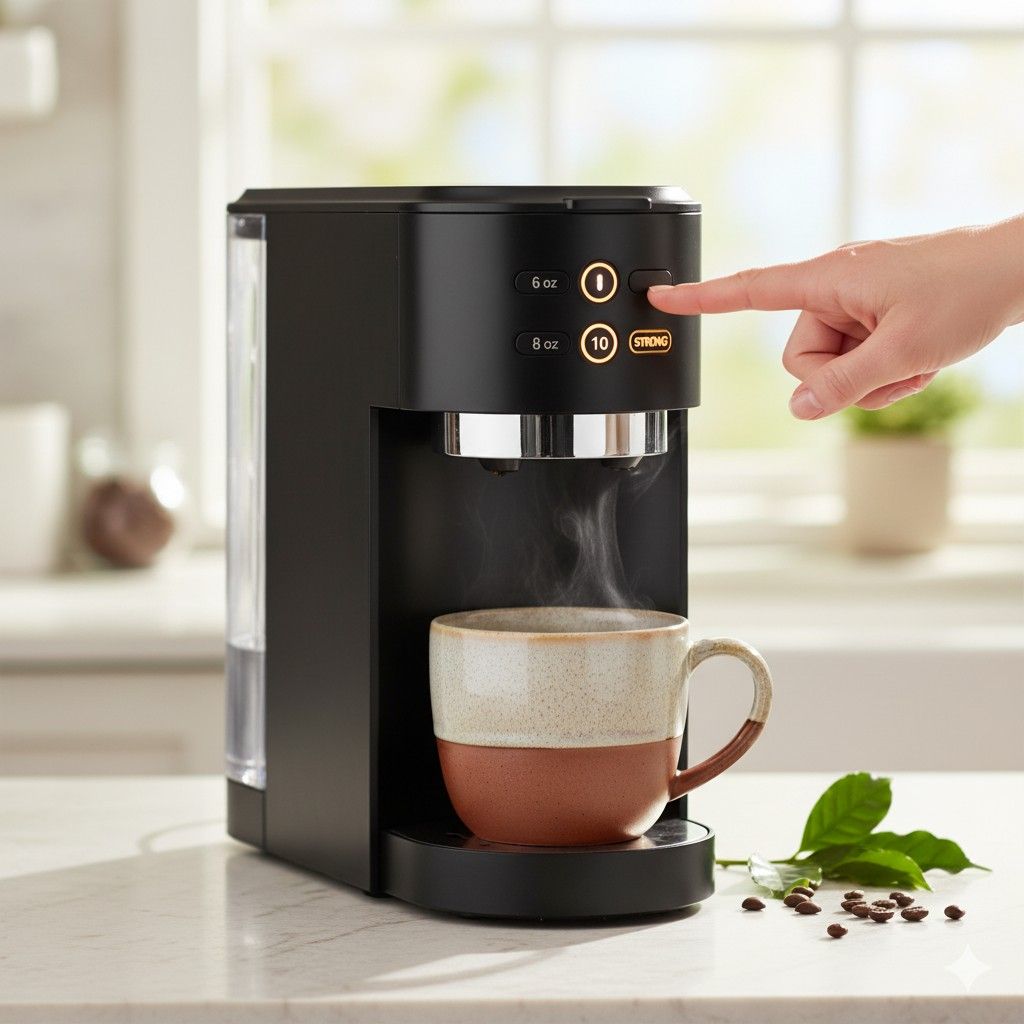
Step 2: Select Your Brew Size
Depending on your model, you’ll see size options like 6 oz, 8 oz, or 10 oz. Smaller sizes produce stronger coffee, while larger ones are lighter in flavor. If your Keurig has a “Strong” or “Bold” button, press it for a richer brew. Once you’ve made your selection, press the brew button. The indicator light will stay on during brewing.
Step 3: Remove the Pod and Enjoy
After the machine finishes brewing, lift the handle and carefully remove the used K-Cup pod. Dispose of it immediately. Replace the drip tray if you removed it earlier, and your Keurig is ready for the next cup.
Add your favorite creamer or sugar—and enjoy your coffee just the way you like it.
Quick Comparison Table: Key Keurig Features
| Feature | Why It Matters | What to Look For |
| Removable Water Reservoir | Easier to fill and clean | Choose side or back placement options |
| Brew Size Options | Flexibility for different mug sizes | 6 oz, 8 oz, 10 oz, or more |
| Strong/Bold Button | For a richer, more robust cup | Common in newer models |
| Auto Shut-Off | Saves energy and adds safety | Usually built-in on most Keurig models |
| Descale Alerts | Reminds you to clean and maintain the brewer | Look for a “Descale” light or message |
Cleaning and Maintenance
Keeping your Keurig clean ensures your coffee always tastes fresh and your machine lasts longer.
Routine Cleaning
- After each use, remove and discard the used pod.
- Wipe the exterior, drip tray, and pod holder with a soft, damp cloth.
- Once a week, rinse the water reservoir and lid with mild soap and water.
- If you brew cocoa or flavored drinks, run a plain hot-water cycle afterward to prevent clogs and flavor transfer.
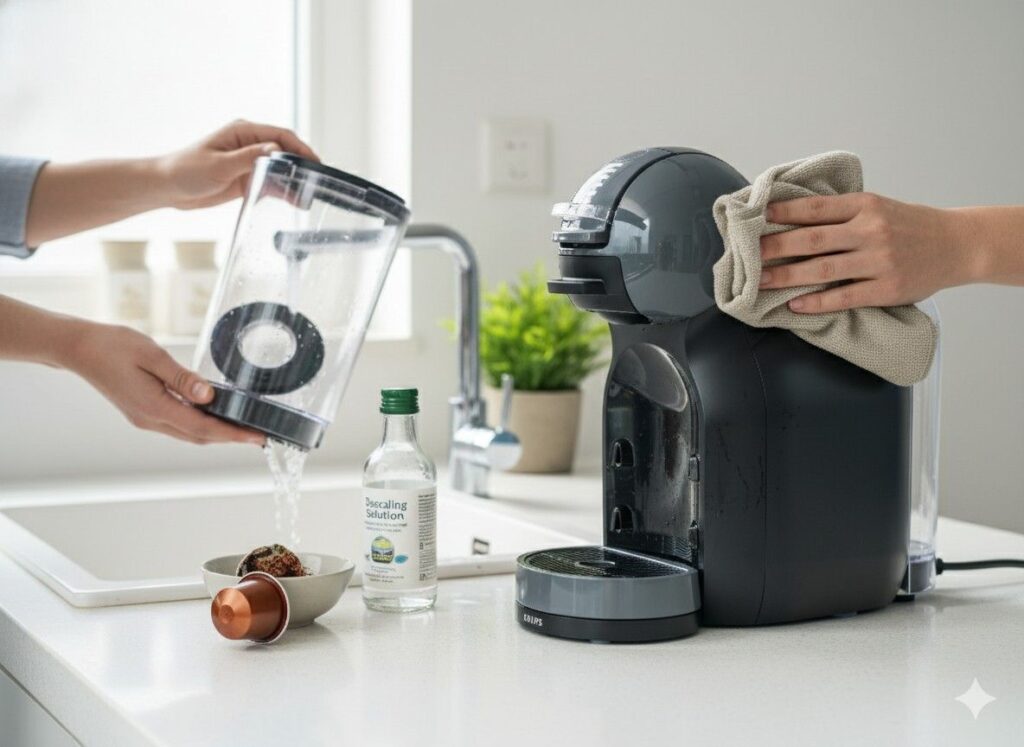
Descaling the Machine
Over time, minerals from water can build up inside your machine. Descaling helps remove these deposits and keeps water flowing smoothly. Most experts recommend descaling every 3–6 months.
To descale:
- Empty the reservoir and fill it with a vinegar-and-water mixture or a Keurig descaling solution.
- Run a brew cycle (without a pod) until the reservoir is empty.
- Rinse thoroughly by running several cycles with clean water.
Note: Always follow your specific model’s descaling instructions for best results.
Common Problems and Fixes
- Machine won’t brew or says “Add water”: Check that the reservoir is filled and properly seated.
- Pod leaks or won’t puncture: Make sure the handle is closed completely and the pod is centered.
- Weak coffee: Try a smaller cup size or press the “Strong” button for a more concentrated flavor.
Expert Tips for Better Brewing
- Use fresh water daily for optimal taste.
- Preheat your mug with hot water before brewing to keep your coffee hotter longer.
- Choose the smallest brew size for a stronger, café-style flavor.
- Consider a reusable pod filter if you prefer using your own coffee grounds—it’s eco-friendly and customizable.
- Leave the reservoir lid slightly open when not in use to let air circulate and prevent stale water smells.
Also Read: what is a penthouse
FAQs
Q1: Can I reuse a K-Cup pod?
K-Cups are designed for one-time use. Reusing them usually results in weak, unevenly extracted coffee. If you want to use your own grounds, opt for a reusable K-Cup filter instead.
Q2: How often should I clean my Keurig?
Wipe down the exterior and drip tray after each use, rinse the water reservoir weekly, and perform a full descaling every 3–6 months.
Q3: My Keurig has a “Descale” light on—what should I do?
Follow the descaling process using vinegar or a commercial solution. Run several clean water cycles afterward to remove any residual taste.
Q4: Is coffee strength adjustable?
Yes. Select a smaller cup size or use the “Strong” setting (if available) for a bolder brew. The larger the cup size, the milder the coffee flavor.
Q5: Can I make drinks other than coffee?
Absolutely! You can brew tea, cocoa, cider, and even some iced beverages with compatible K-Cup pods.
Final Thoughts
Learning how to use a Keurig coffee maker is simple, but mastering it takes a little care. From filling the water reservoir to pressing “brew,” every step plays a role in your final cup’s flavor.
Keep your machine clean, experiment with brew sizes, and don’t forget to descale regularly. Once you get into a routine, you’ll see why so many coffee lovers swear by their Keurig—it’s fast, reliable, and delivers coffee that feels made-for-you every single time.
So grab your favorite mug, pop in a pod, and let your Keurig do the rest. Fresh coffee is just one button away.
How to Use Keurig Coffee Maker – Step-by-Step Guide
Meta Description (153 characters):
Learn how to use a Keurig coffee maker easily. Follow expert steps for setup, brewing, and cleaning to make the perfect cup every time.