


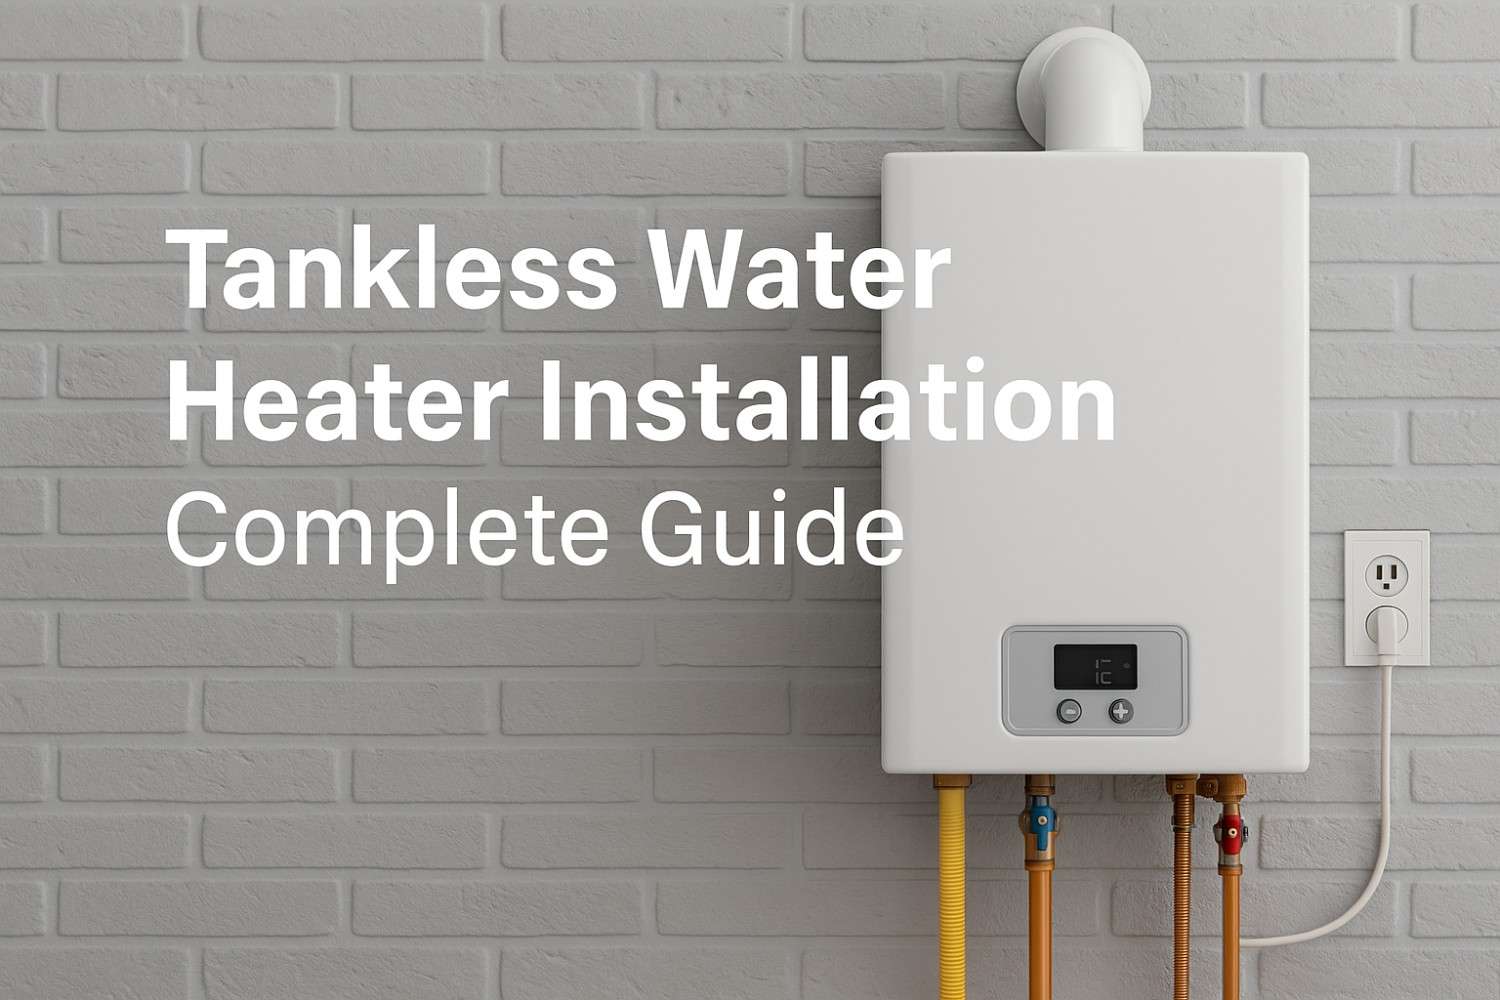
If you’ve ever waited impatiently for your water to heat up—especially when someone else has already used all the hot water—you’ll understand why tankless water heater installation has become one of the most popular home upgrades in the U.S. Unlike traditional tank models that constantly heat and store water, tankless systems heat water only when needed. The result? Continuous hot water, lower energy bills, and extra storage space.
But here’s the thing: the installation process isn’t as simple as plugging in a new appliance. It involves specialized plumbing, venting, and often electrical or gas line modifications that demand experience and precision. Whether you’re switching from a tank model or starting fresh, understanding the process and preparation can save you money, time, and potential safety risks.
Let’s break down what you need to know—step by step.
Why Professional Help Often Makes the Difference
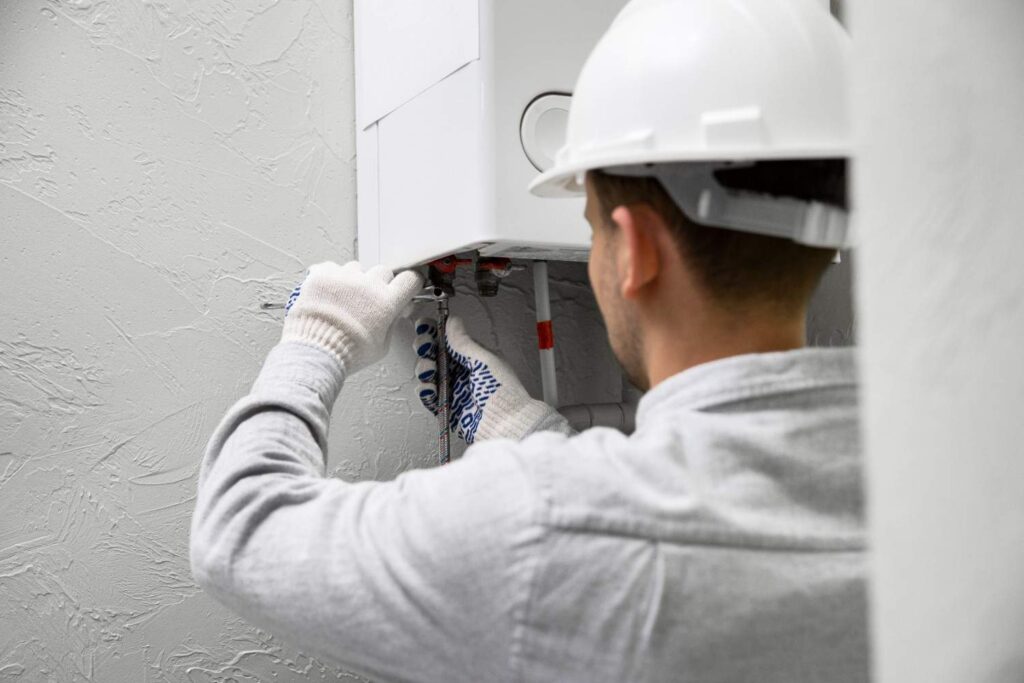
While online tutorials make it look easy, most experts agree that professional installation is essential for safety and performance. Tankless systems rely on precise gas pressure, electrical loads, and venting clearances—areas where even a small mistake can lead to carbon monoxide leaks, poor efficiency, or system failure.
The complexity increases depending on the power source. Gas models require correct venting and often an upgraded gas line, while electric units may demand panel expansion or dedicated circuits. A licensed plumber or HVAC technician ensures compliance with local building codes and maintains your manufacturer’s warranty.
Pre-Installation Planning: The Smart Way to Start
Before you pick a model or call your installer, a bit of groundwork will set you up for success.
Determining Your Demand and Sizing Requirements
Start by calculating your household’s peak hot-water use. Add up the flow rates (in gallons per minute) for fixtures you might use simultaneously—like a shower, dishwasher, and washing machine. Then, determine the temperature rise—the difference between your incoming cold water temperature and desired hot-water output. The greater the rise, the more power you’ll need.
Also, consider placement. Install your tankless unit close to the highest-use areas, like bathrooms or kitchens, to minimize wait times and heat loss. Compact models can be wall-mounted in closets, garages, or even outside if rated for outdoor use.
Gas vs. Electric: Which One Fits Your Home Best?
If your household often runs multiple fixtures simultaneously, gas models usually deliver better flow rates. However, they require professional venting and larger gas lines—both adding to cost and complexity.
Electric tankless heaters, on the other hand, are simpler to install since they don’t need venting or fuel lines. They’re perfect for smaller homes or point-of-use applications, though they can draw high amperage, sometimes requiring a panel upgrade.
Each type has trade-offs, so consider your home’s existing infrastructure before committing.
The Tankless Water Heater Installation Process
Here’s a general overview of how a tankless installation typically unfolds. The steps can vary slightly depending on your model, but the fundamentals remain consistent.
Step 1: Shutting Off Utilities and Removing the Old Heater
Start by turning off the main water supply and either the gas or power connection. Drain the old tank by connecting a hose to its drain valve and opening a hot-water tap to relieve pressure. Once emptied, disconnect all pipes and safely remove the old unit.
This initial step prevents water damage and ensures a clean, safe workspace.
Step 2: Preparing and Upgrading the Site
This phase often requires the most skill. For gas units, a licensed professional may need to upsize the gas line and ensure proper vent placement. For electric models, an electrician might add a dedicated high-amperage circuit.
Mount your new tankless system on the wall using the manufacturer’s bracket, maintaining clearances for ventilation and service access. At this point, isolation valves and a pressure relief valve should also be installed—both are essential for future maintenance.
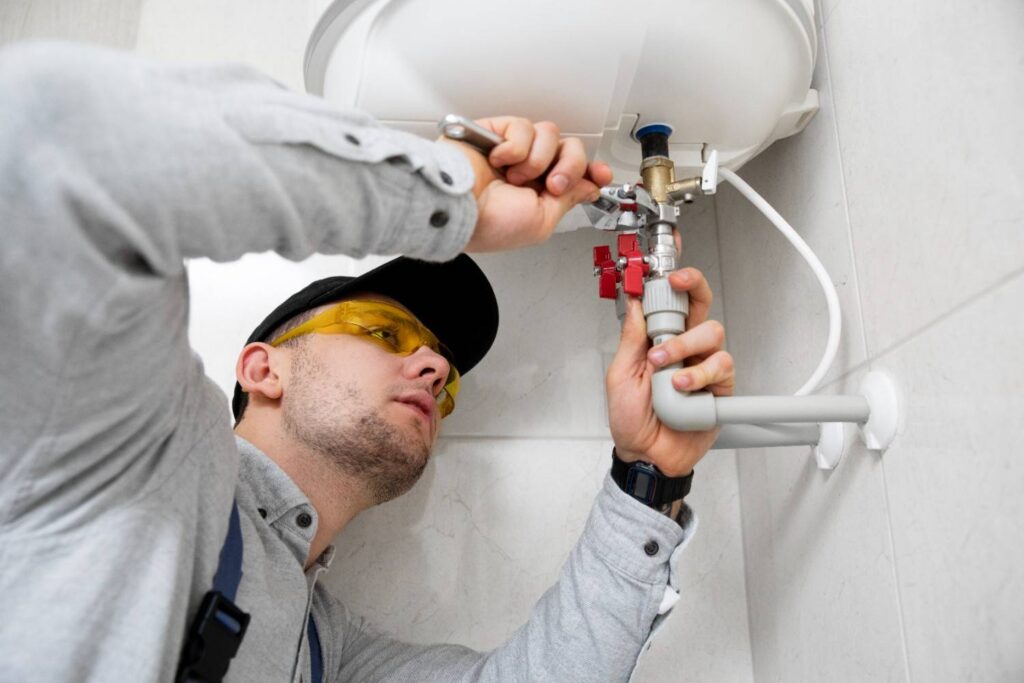
Step 3: Connecting Plumbing and Power
Next, connect the cold-water inlet and hot-water outlet lines. Many pros use flexible stainless-steel lines for durability and ease of installation. Make sure the connections are tight and correctly aligned—reversed lines are a common (and frustrating) error.
For gas models, install a new venting system that safely expels combustion gases outdoors. Never reuse an old vent pipe. For electric models, wire the heater per the diagram in the manual and ensure proper grounding.
Step 4: Testing and Commissioning
Before turning everything back on, open the water supply and check for leaks. Once the system is filled, open all hot-water taps to purge air from the lines. Then restore power or gas and follow the manufacturer’s startup procedure.
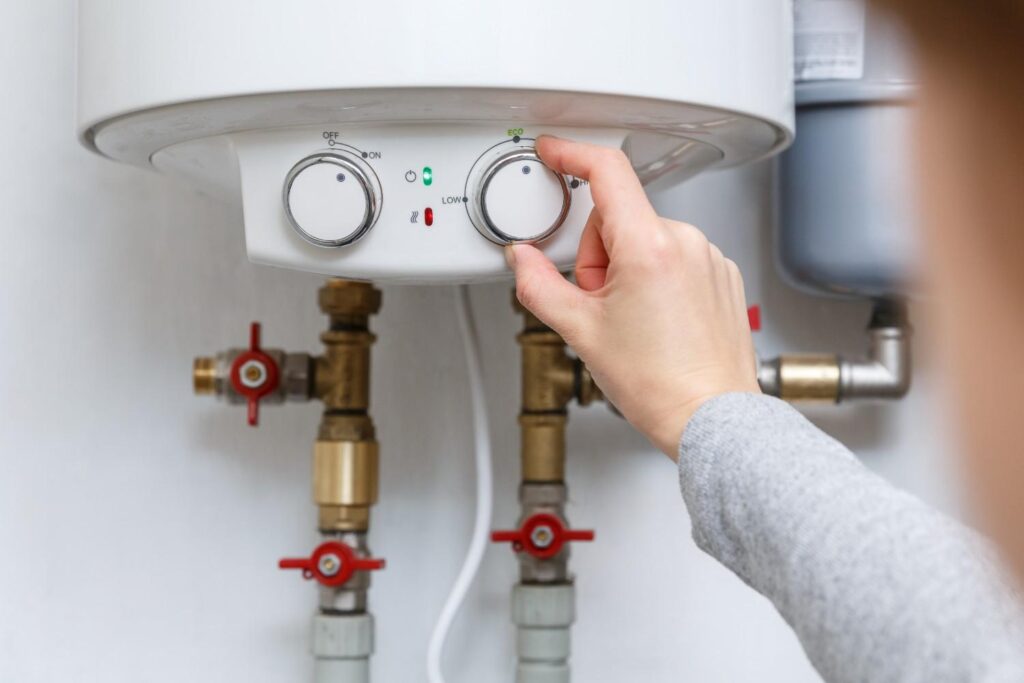
Set your desired output temperature—typically around 120°F—and verify that the heater responds quickly and consistently.
Installation Costs and Common Mistakes to Avoid
A professionally installed tankless water heater usually costs between $1,200 and $3,500, depending on the model, fuel type, and home modifications required. Gas line upgrades, longer vent runs, or electrical work can increase costs.
Common mistakes that lead to poor performance include:
- Undersizing the unit: Always calculate real-world water demand.
- Ignoring venting codes: Improper venting can cause serious safety hazards.
- Skipping professional help: Faulty wiring or gas line work can void warranties and create long-term risks.
- Neglecting maintenance: Failing to descale annually leads to mineral buildup that reduces efficiency.
Avoiding these errors ensures your investment pays off for decades.
Maintenance Tips to Keep It Running Smoothly
Once installed, your tankless water heater requires minimal upkeep—just consistent attention. Schedule annual flushing or descaling to remove mineral buildup, especially in hard-water regions. Clean air filters, inspect venting, and check fittings for corrosion or leaks.
Adding isolation valves makes maintenance quick and convenient. A well-maintained system can last up to 20 years while maintaining its energy-saving benefits.
Frequently Asked Questions
1. Can I install a tankless water heater myself?
While it’s possible for highly experienced DIYers, most homeowners should hire a licensed professional. Improper venting or wiring can be dangerous and often violates local codes.
2. How do I know what size tankless water heater I need?
Estimate your simultaneous water usage and temperature rise. Choose a model that covers that demand plus a safety margin to ensure consistent flow.
3. Are electric tankless water heaters efficient?
Yes—electric models are highly efficient, converting nearly all energy into heat. However, installation costs can increase if you need a panel upgrade.
4. How often should I service my tankless water heater?
Plan for annual maintenance to flush out mineral buildup and check for leaks. Homes with hard water may need biannual service.
The Final Word: Turning Hot Water Into a Smart Investment
A well-planned tankless water heater installation isn’t just about comfort—it’s about efficiency, longevity, and smarter home design. By sizing the unit correctly, hiring a qualified installer, and maintaining it yearly, you’ll enjoy steady hot water, lower utility bills, and peace of mind.
With proper setup, your new tankless system won’t just heat water—it’ll redefine how you experience it.