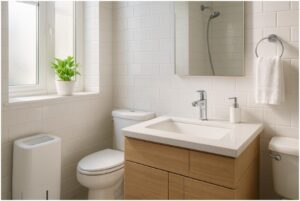


I’ll admit it—I used to think repainting bathroom cabinets was one of those HGTV-level projects best left to professionals. That was until I looked at my outdated oak vanity one morning and thought, “Okay, it’s me versus the 90s.”
If you’ve ever stood in your bathroom wishing for a cleaner, more modern look, I promise learning how to paint bathroom cabinets isn’t as hard as it sounds. You just need patience, the right materials, and a weekend’s worth of determination (plus coffee… lots of coffee).
So, grab your paintbrush—here’s exactly how I transformed my bathroom cabinets from tired to timeless.
What Should You Do First Before Painting Bathroom Cabinets?
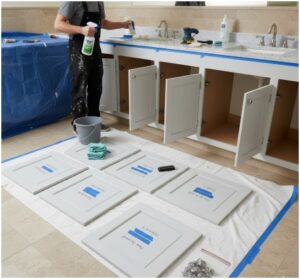
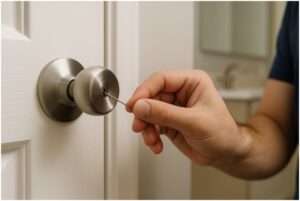
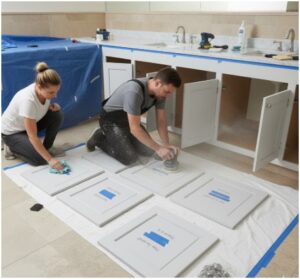
Before even opening a paint can, I learned preparation makes or breaks your finish. Start by clearing your workspace. Take everything out of the cabinets and remove the doors, drawers, and hardware. I labeled mine with painter’s tape so reassembly didn’t turn into a jigsaw puzzle.
Next, I cleaned every inch of the surface using a degreaser (TSP works like magic) to remove the grime, soap residue, and oils that build up over time.
Don’t skip this—paint won’t stick to dirt. Once everything was squeaky clean, I filled small dents and old hardware holes with wood filler and sanded them smooth once dry.
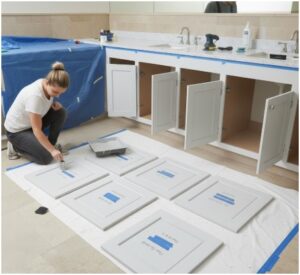
Finally, I taped off surrounding areas like the wall and countertop, then laid a drop cloth on the floor. The goal here is to make sure paint lands on your cabinets—not your tiles.
How Do You Sand Bathroom Cabinets for a Smooth Finish?
I used to think sanding was optional. Spoiler alert—it’s not. Sanding gives your paint something to cling to, especially on glossy or finished wood.
For wooden cabinets, I started with medium-grit (150) sandpaper to rough up the old finish, followed by a fine-grit (220) pass for smoothness.
If you’re working with laminate, go gently with fine-grit paper—just enough to dull the shine. Thermofoil cabinets need even more care: if the vinyl coating is peeling, you’ll want to remove it completely using a heat gun before sanding the MDF underneath.
Once I finished sanding, I wiped down every surface with a damp microfiber cloth to remove dust. A clean, smooth surface is the secret to a professional-looking result when figuring out how to paint bathroom cabinets properly.
What Kind of Primer Should You Use on Bathroom Cabinets?
When it comes to primer, don’t go cheap. Bathrooms are humid, and moisture is the enemy of fresh paint. I learned that the hard way when my first attempt peeled within months.
This time, I used a high-quality bonding primer designed for kitchens and baths. My personal favorites include Zinsser B-I-N Shellac Primer and INSL-X Stix—both grip like a dream and block stains.
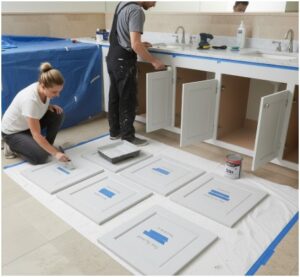
Apply your primer in thin, even coats. I used a foam roller for flat surfaces and a brush for corners and grooves. Let it dry completely before painting, and if you’re covering dark wood with a light color, add a second coat. Primer sets the foundation for the paint to do its job beautifully.
How to Paint Bathroom Cabinets for a Flawless Finish
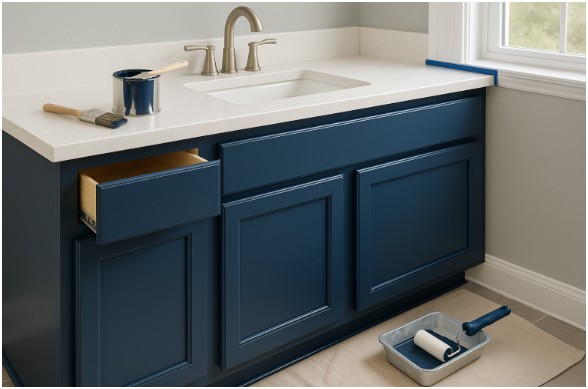
Now, the fun part—painting! I chose a semi-gloss cabinet paint that can handle moisture, scrubbing, and the chaos of daily bathroom life.
If you’re choosing between brands, I swear by Sherwin-Williams Emerald Urethane Trim Enamel or Benjamin Moore ADVANCE for that smooth, factory-like finish.
Here’s the trick: apply two to three thin coats instead of one thick one. I brushed along the grain, let each coat dry completely, and gave a light sanding between coats to knock down any tiny bumps. If you’re painting laminate cabinets, consider sealing with a clear topcoat for extra durability.
Below is a quick comparison of popular cabinet paints I’ve personally tested:
| Paint Brand | Finish | Best Feature |
| Benjamin Moore ADVANCE | Satin/Semi-Gloss | Self-leveling, smooth coverage |
| Sherwin-Williams Emerald Urethane | Semi-Gloss | Excellent moisture resistance |
| Behr Urethane Alkyd Enamel | Satin | Budget-friendly & durable |
Once you’re done, resist the urge to reattach the doors immediately. Paint dries in hours—but curing takes days. I waited a full week before putting my cabinets back together, and it paid off in a rock-solid finish.
What’s the Final Step After Painting Bathroom Cabinets?
When the last coat was dry to the touch, I carefully peeled off the painter’s tape while the paint was still slightly soft to prevent edge lifting. Then came the waiting game. Letting paint cure fully (five to seven days) ensures it hardens properly.
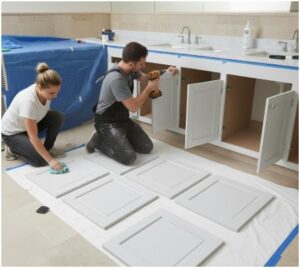
Finally, I reattached the hardware and doors, matching my labels. The first time I stepped into my bathroom after reassembly, it looked like a completely new space—fresh, clean, and modern without replacing a single cabinet.
If you’re serious about learning how to paint bathroom cabinets that last, patience is your best tool. Every step—cleaning, sanding, priming, painting, and curing—matters more than the paint color itself.
FAQs About How to Paint Bathroom Cabinets
1. Can I paint bathroom cabinets without sanding?
Technically, yes—but you’ll regret it. Sanding helps paint stick and prevents chipping later. If you really want to skip sanding, use a deglosser and a bonding primer, but I’d still give it a light scuff for best results.
2. What type of paint finish is best for bathroom cabinets?
I recommend satin or semi-gloss. These finishes resist moisture, clean easily, and give a slight sheen that looks polished but not too shiny. Matte finishes may look trendy but don’t hold up well in humid rooms.
3. How long does it take to paint bathroom cabinets?
Between prep, sanding, priming, painting, and curing—it took me about a week. Most of that time is drying and curing. The actual painting can be done in two to three days if you work efficiently.
4. Do I need a topcoat?
If your cabinets face heavy use or you’re painting laminate, yes. A clear polyurethane or acrylic topcoat adds extra protection and helps your paint last longer.
The Glow-Up You Deserve
Here’s the thing—I never realized how much a coat of paint could change a space until I tackled my own bathroom. Learning how to paint bathroom cabinets wasn’t just a DIY project; it was instant therapy. The process forced me to slow down, pay attention, and actually enjoy creating something with my own hands.
If you’re standing in front of dated cabinets wondering if it’s worth it—trust me, it is. You’ll save money, add value to your home, and feel that satisfying spark every time you walk into a bathroom that looks brand-new. Just remember: prep well, use quality products, and let patience work its magic.