


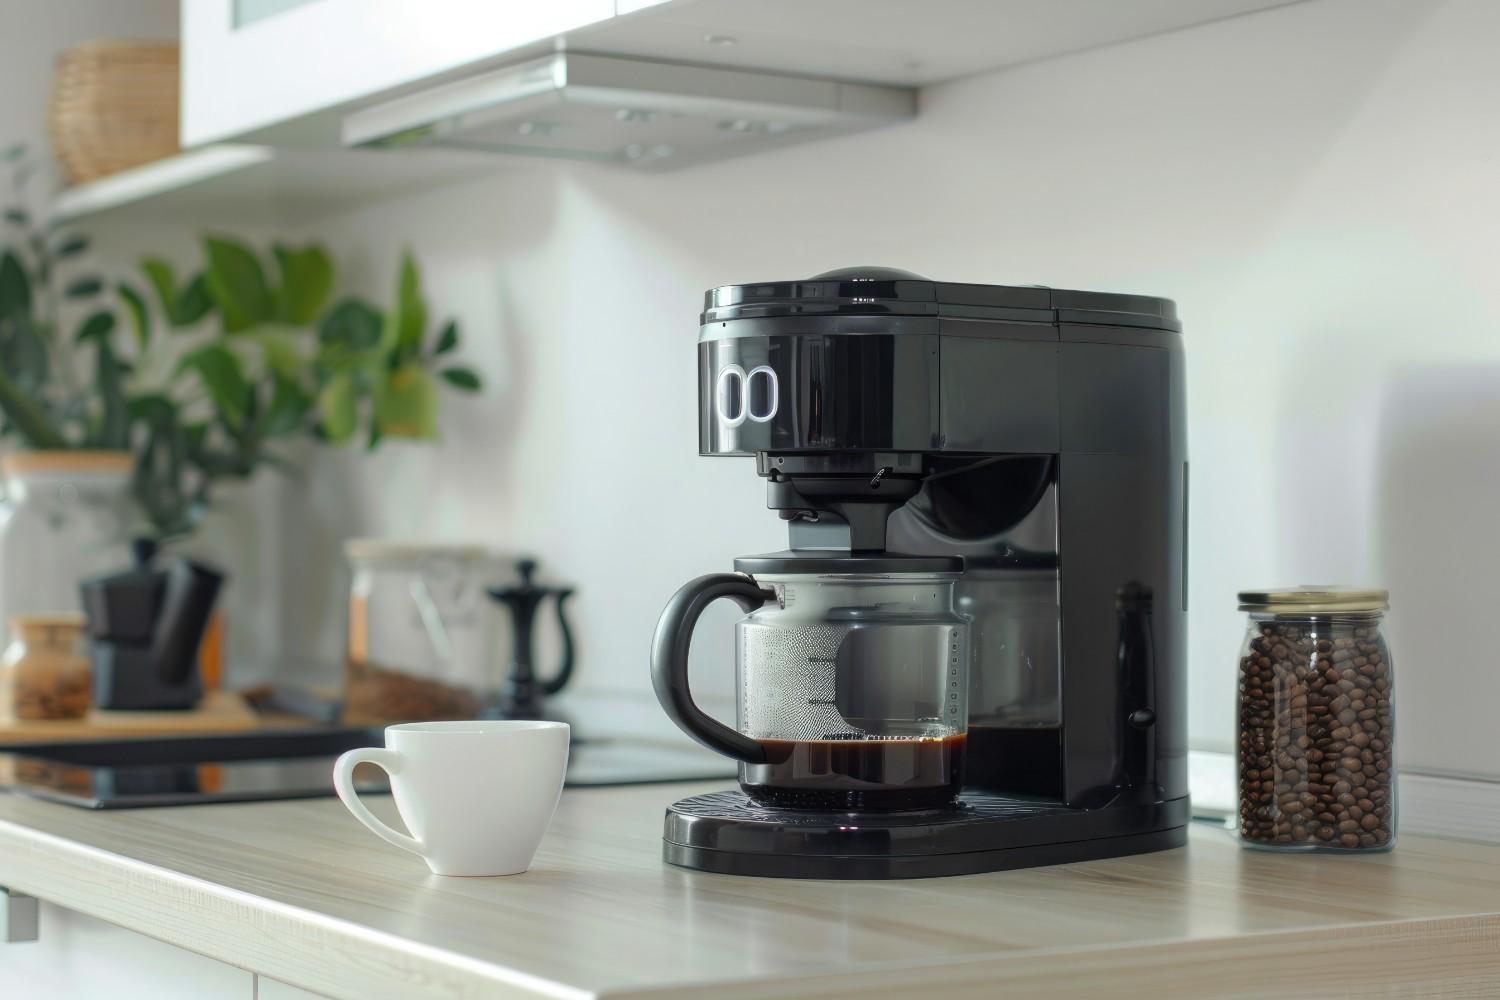
A clean coffee maker is the secret to a perfect morning brew. Over time, coffee oils, mineral deposits, and residue can dull the flavor of your coffee and even damage your machine. I’ve learned that regular cleaning not only keeps the taste consistent but also extends the life of your coffee maker. In this guide, I’ll show you how to clean a coffee maker properly—step by step—using an expert-approved method that’s simple, effective, and safe for daily use.
Why Cleaning Matters
Every cup of coffee leaves behind oils, minerals, and microscopic residue. Without regular cleaning, these build up and cause:
- Bitter or metallic-tasting coffee
- Slower brew times and poor water flow
- Growth of mold and bacteria in damp areas
Cleaning your coffee maker ensures every cup tastes just as fresh as the first and helps your machine perform efficiently for years.
Quick Comparison Table

Here’s a quick reference table for when and how to clean different parts of your coffee maker:
| Cleaning Task | Recommended Frequency | What It Removes | Cleaning Method |
| Daily Wash | After each use | Coffee oils and grounds | Warm water + dish soap |
| Exterior Wipe | Every few days | Spills, stains, and dust | Damp cloth or vinegar solution |
| Deep Clean / Descale | Once a month | Mineral deposits and scale | Vinegar and water brew cycle |
| Basket & Carafe Scrub | Weekly | Stains and buildup | Soft brush + soapy water |
Step-by-Step: How to Clean a Coffee Maker
Step 1: Prepare the Machine
Before cleaning, unplug your machine for safety. Remove the used filter and any leftover coffee grounds. Empty the carafe and put the empty basket back into the machine. This quick prep ensures that the cleaning solution reaches every part of your coffee maker without obstruction.
Step 2: Run the Cleaning Solution
- Mix the solution: Combine equal parts white distilled vinegar and water and pour it into the reservoir.
- Start brewing: Begin the brew cycle and let it run halfway.
- Pause and soak: Turn off the coffee maker and let the solution sit for 30 to 60 minutes to dissolve scale and residue.
- Finish brewing: After soaking, restart the cycle to finish cleaning.
This vinegar-water solution acts as a natural descaler, breaking down stubborn mineral buildup safely.
Step 3: Rinse the Coffee Maker
After the cycle finishes, discard the used vinegar solution and filter. Fill the reservoir with clean water and run a full brewing cycle to flush out the vinegar taste.
Repeat this rinse process one or two more times using fresh water each time to ensure no residue remains.

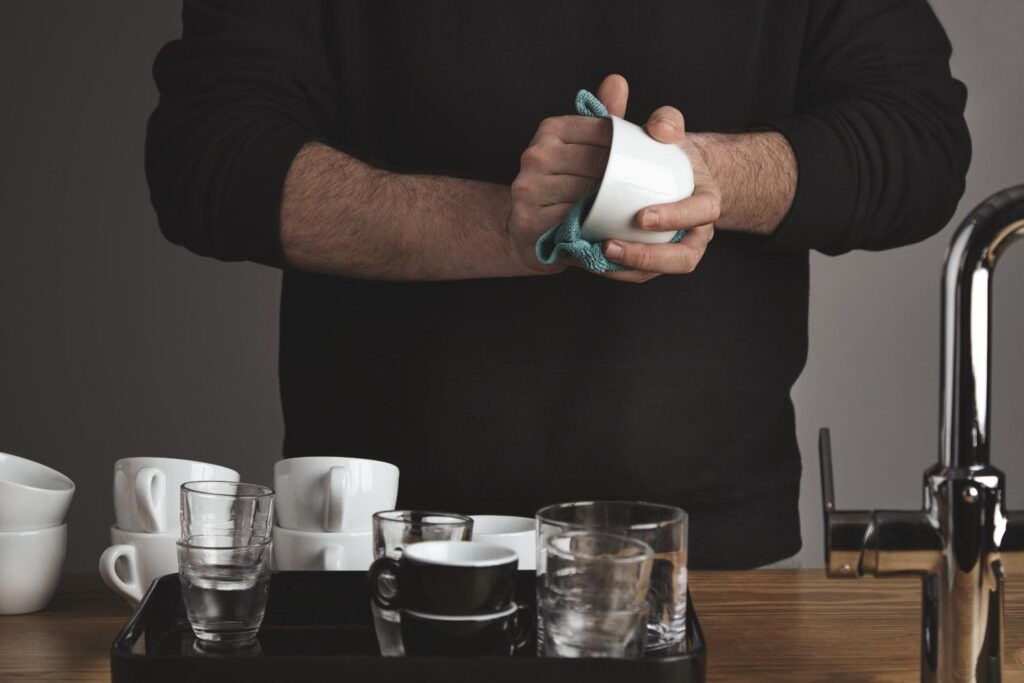
Step 4: Wash Removable Parts
Detach the carafe, brew basket, lid, and any other removable pieces. Wash them in warm, soapy water using a soft sponge or brush.
For corners and narrow spaces, a small toothbrush works perfectly to scrub away coffee stains and residue. Rinse thoroughly and let all parts air dry before putting them back together.
Step 5: Wipe the Exterior
The outside of the machine deserves attention, too.
Use a damp microfiber cloth to wipe down the surface, control panel, and warming plate.
If you notice any sticky or stubborn spots, a cloth slightly dampened with the same vinegar-water mix works wonders. Avoid using excessive water or submerging any electrical components.
Step 6: Reassemble and Test
Once everything is completely dry, reassemble the parts.
Run a quick water-only brew cycle to make sure there are no lingering odors or tastes.
Now, your machine is fresh, clean, and ready to make a smooth, flavorful cup of coffee again.
How Often Should You Clean?
The frequency of cleaning depends on your usage and water hardness. Here’s a simple breakdown:
- After every brew: Rinse the carafe and filter basket.
- Weekly: Wash removable parts thoroughly and wipe the exterior.
- Monthly: Perform a full vinegar-water cleaning cycle.
- Every 2–3 months: Deep scale for hard water users.
If your coffee starts tasting bitter, smells off, or your machine brews slower than usual, it’s time for a deep clean.
Extra Expert Tips for Coffee Maker Maintenance
- Always use white distilled vinegar—it’s clear, affordable, and leaves minimal odor.
- For coffee makers with aluminum or specialized seals, check your manufacturer’s guide before using vinegar.
- If you prefer alternatives, citric acid or baking soda also work effectively for removing scale.
- Avoid leaving wet grounds or water in the reservoir overnight—they can lead to bacterial growth.
- Use filtered water whenever possible. It reduces mineral buildup and extends the time between deep cleans.
- Let your coffee maker air dry with the lid open when not in use.
Signs Your Coffee Maker Needs Cleaning
If you’re unsure whether it’s time to clean, watch for these clues:
- Your coffee tastes unusually bitter or weak.
- The brewing process takes longer than normal.
- Visible residue or white crust (scale) appears in the reservoir.
- Your machine makes more noise while brewing.
Regular cleaning resolves most of these issues instantly.
Alternative Cleaning Methods (When You’re Out of Vinegar)
If you don’t like the smell of vinegar or don’t have it on hand, try these substitutes:
| Alternative Cleaner | Mix Ratio | Advantages | Disadvantages |
| Baking Soda | ¼ cup per full reservoir of warm water | Gentle, odor-free, eco-friendly | May need extra rinse cycles |
| Lemon Juice | 1 part lemon juice to 1 part water | Natural disinfectant, pleasant scent | Slightly less effective on heavy buildup |
| Citric Acid | 2 tablespoons per reservoir | Effective descaler, safe for most machines | Must rinse thoroughly to avoid taste |
Also Read: how to paint popcorn ceiling
FAQs
Q1: Can I use apple cider vinegar instead of white vinegar?
It’s better to use white distilled vinegar since it’s colorless and leaves less odor. Apple cider vinegar may stain or leave a stronger smell.
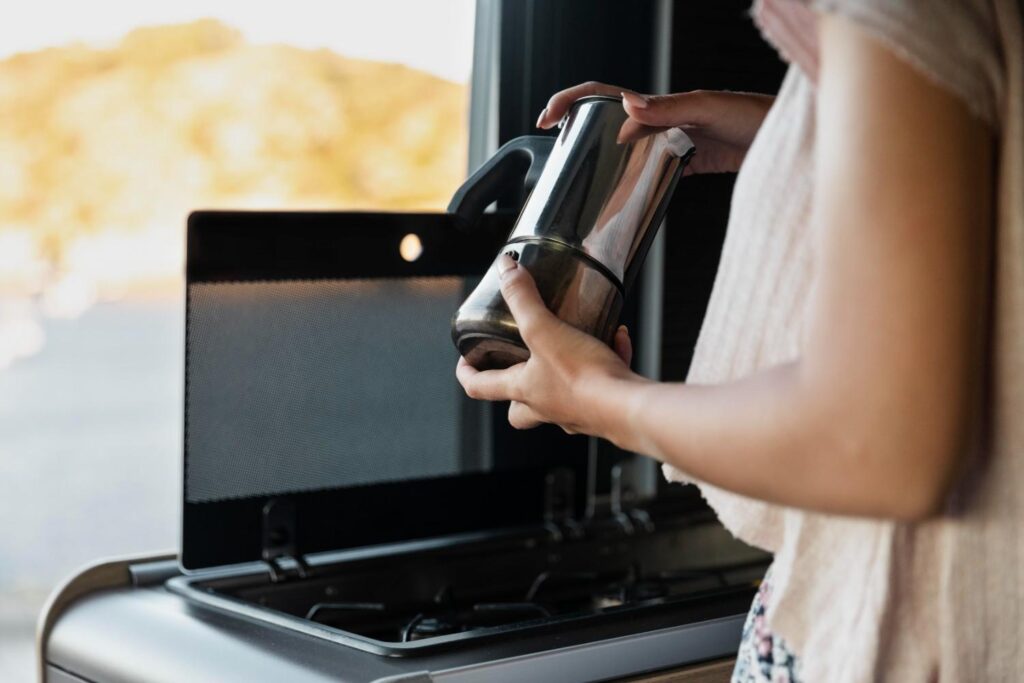
Q2: How do I clean a single-serve or Keurig-style coffee maker?
Follow the same vinegar-water cycle method, but be sure to remove the pod holder and wash it separately. Run extra rinse cycles to ensure no vinegar taste remains.
Q3: Is vinegar safe for all coffee makers?
For most drip-style machines, yes. However, if your model includes metal parts or rubber seals, check your manual—some manufacturers prefer using descaling solutions instead.
Q4: How do I get rid of lingering vinegar smell?
Run two to three cycles of fresh water after cleaning. You can also add a teaspoon of baking soda to the first rinse cycle to neutralize the odor.
Q5: How can I prevent buildup between cleanings?
Use filtered or bottled water to reduce minerals, empty the reservoir after each use, and leave the lid open to dry out moisture.
Fresh Start for Your Morning Brew
Learning how to clean a coffee maker is one of those small habits that make a big difference. A clean machine means better-tasting coffee, consistent performance, and fewer maintenance issues down the road.
Set a monthly reminder, keep some vinegar or citric acid handy, and make this routine part of your coffee ritual. You’ll be rewarded with the pure, rich flavor your morning deserves—every single day.